Schneider Electric Thorsman IMT23113 Multimeter Outer Case Removal
I’ve just replaced both my shack multimeters. I’d owned a couple of Radio shack/Micronta meters both from the 1970’s and within a couple of weeks – both went bad. I’d already replaced the digital meter with a Holdpeak HP-770D but also now needed an analogue replacement.
I’ve got 2 AVO 8’s which are great. One is a MK3 and one a MK 7. The Mark 7 is immaculate and was the last AVO 8 to be produced but to be honest, it doesn’t get used much [although I should really use it more often]. The Mark 3 has a superb movement [better than the MK7] – but I do tend to wrap both these meters up in cotton wool.
So, I needed an ‘everyday’ analogue meter that I could use that would stand up to normal use and a bit of harsh treatment thrown in for good measure.
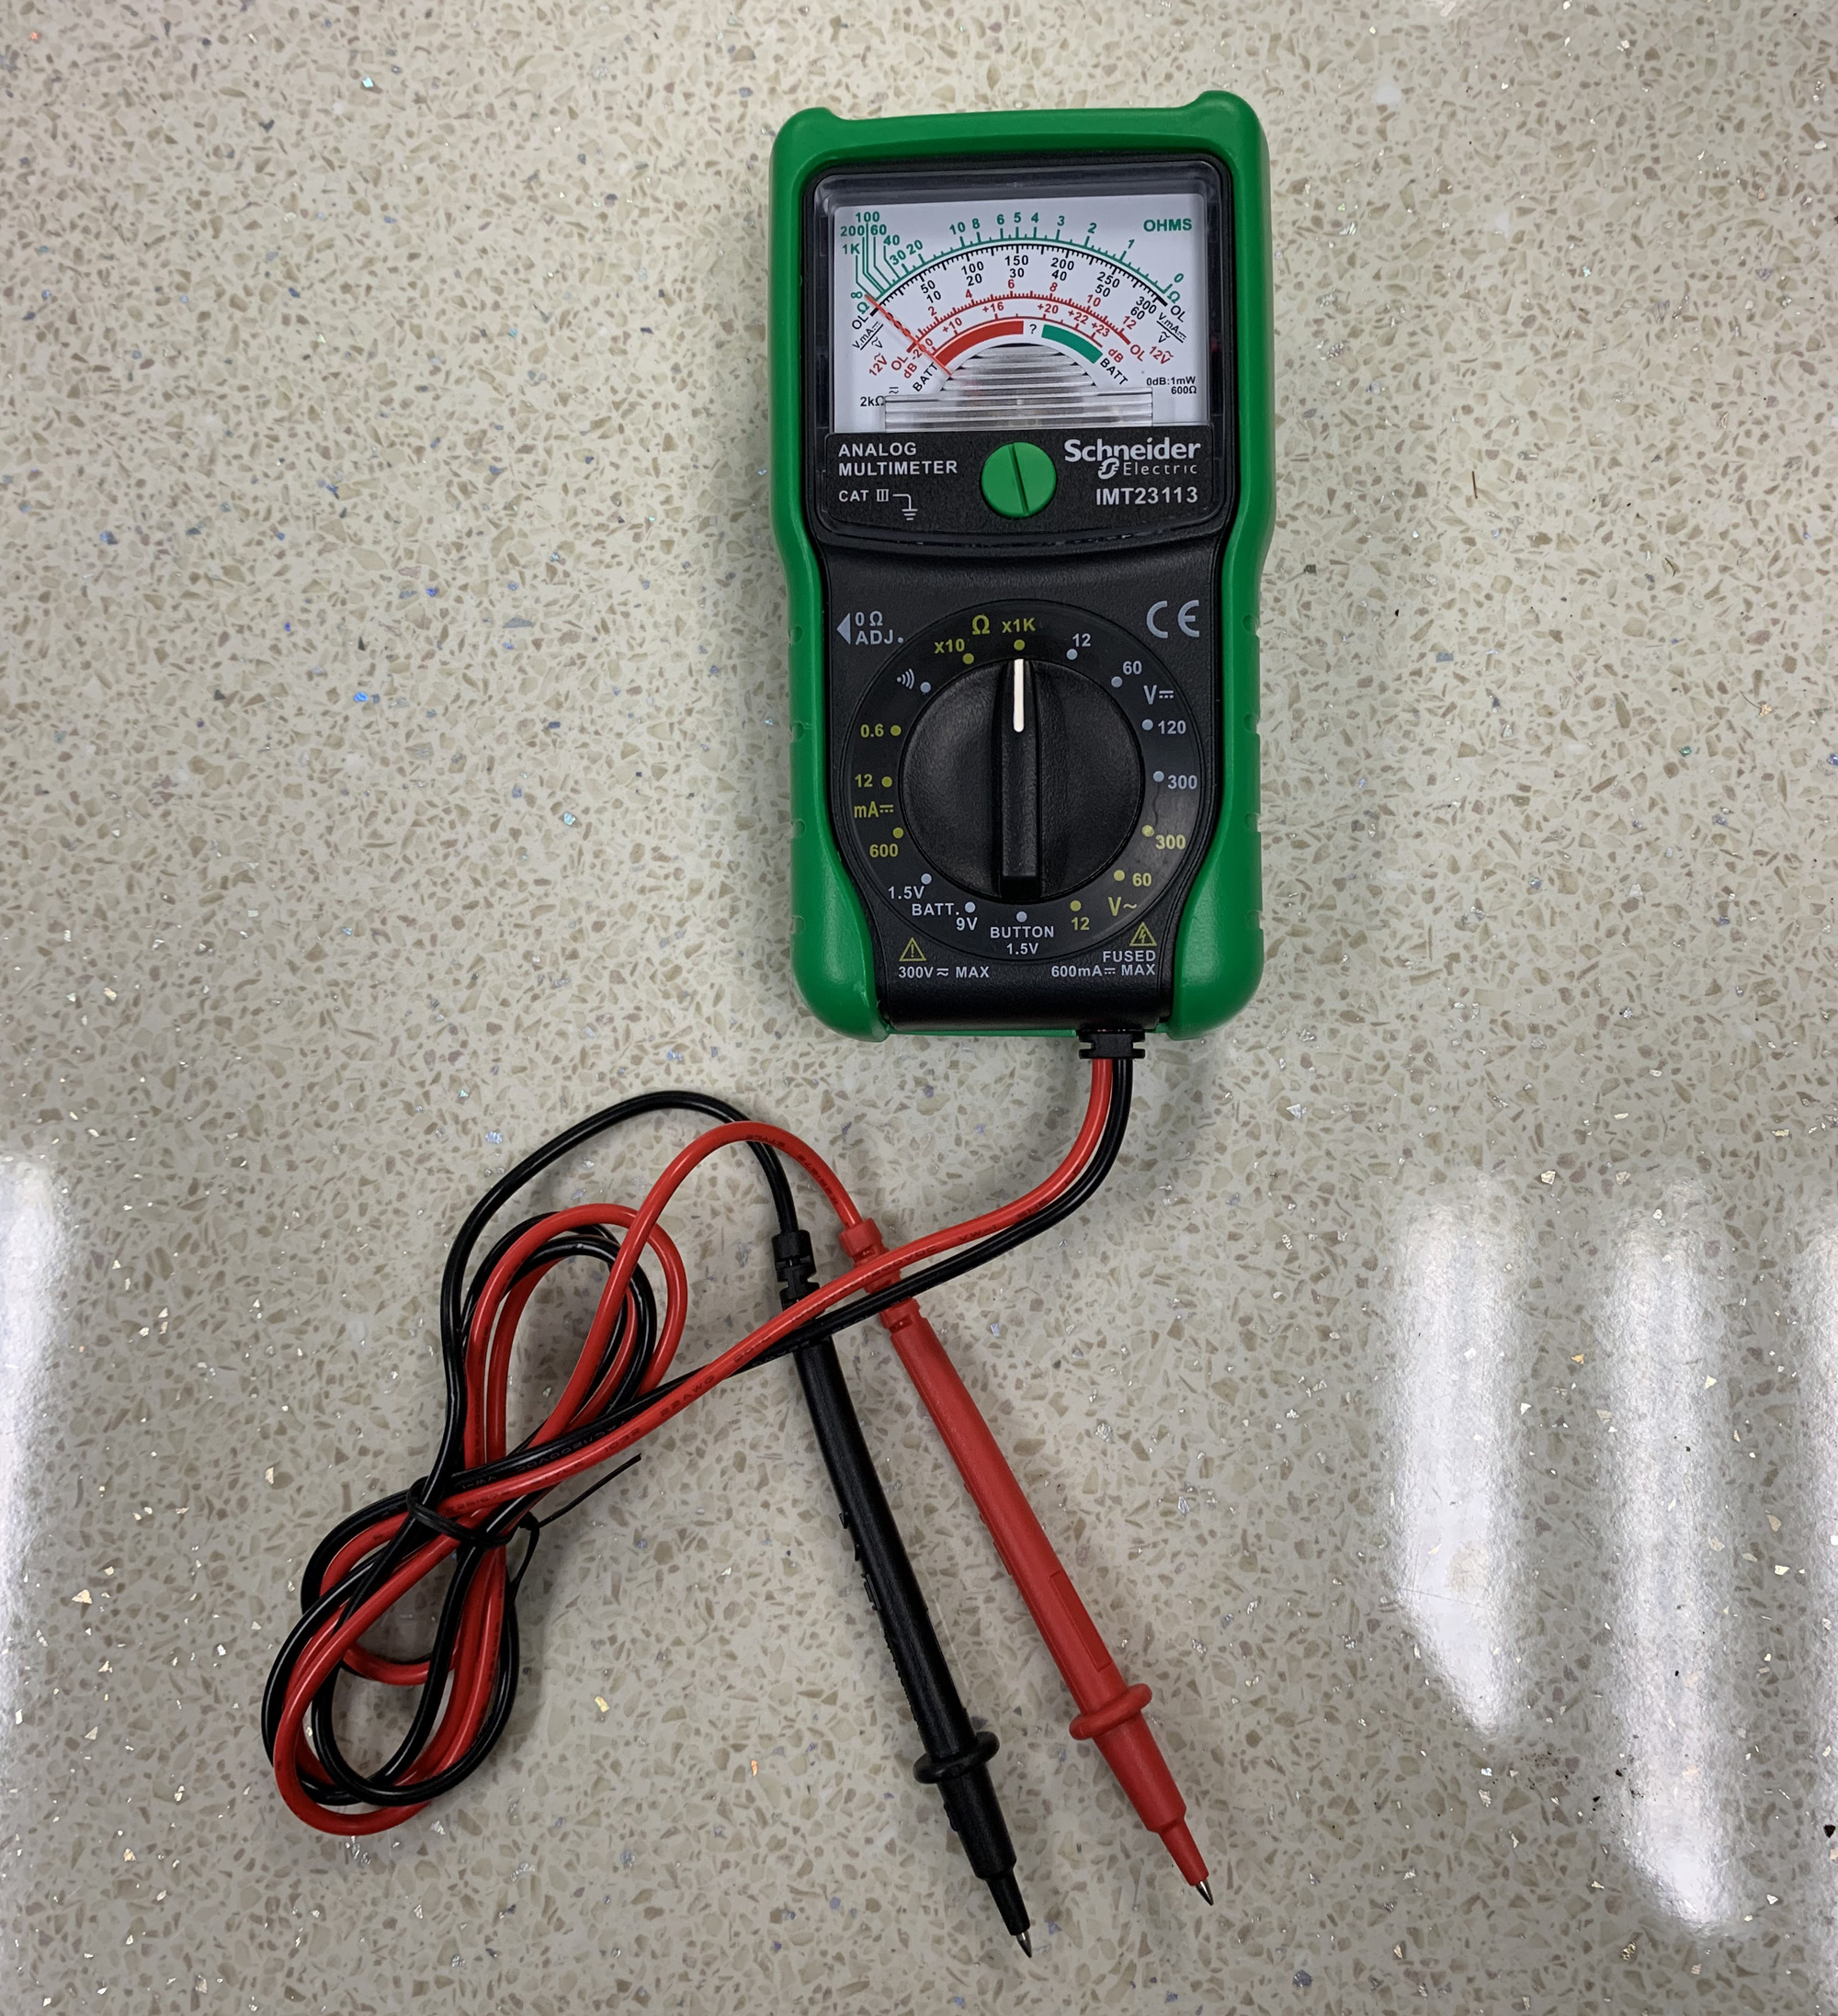
I looked around and many of the reviews pointed to the Schneider Electric Thorsman IMT23113 being a great value and robust unit. So, after purchase on Amazon at *£19.99 I duly unpacked the unit.
Mmmmm – looks nice but how do you get the battery in. It’s not at all obvious as the whole unit looks to be totally encapsulated. The two green and black casings fit that well, you’d say it was one [it’s that well made]. Checking the manual, it says to ‘Remove the Holster’ but it looks to be a fully welded item.
I then put it to one side, had a meal and came back to it later. Looking and inspecting for what seemed ages – I was no nearer the solution so I sent Schneider Tech Support an email.
The next day, the nice people at Schneider tech had replied to me with two photos. I get the feeling that I wasn’t the first to enquire, but hats off for a rapid tech support response [with 10 hours and overnight].
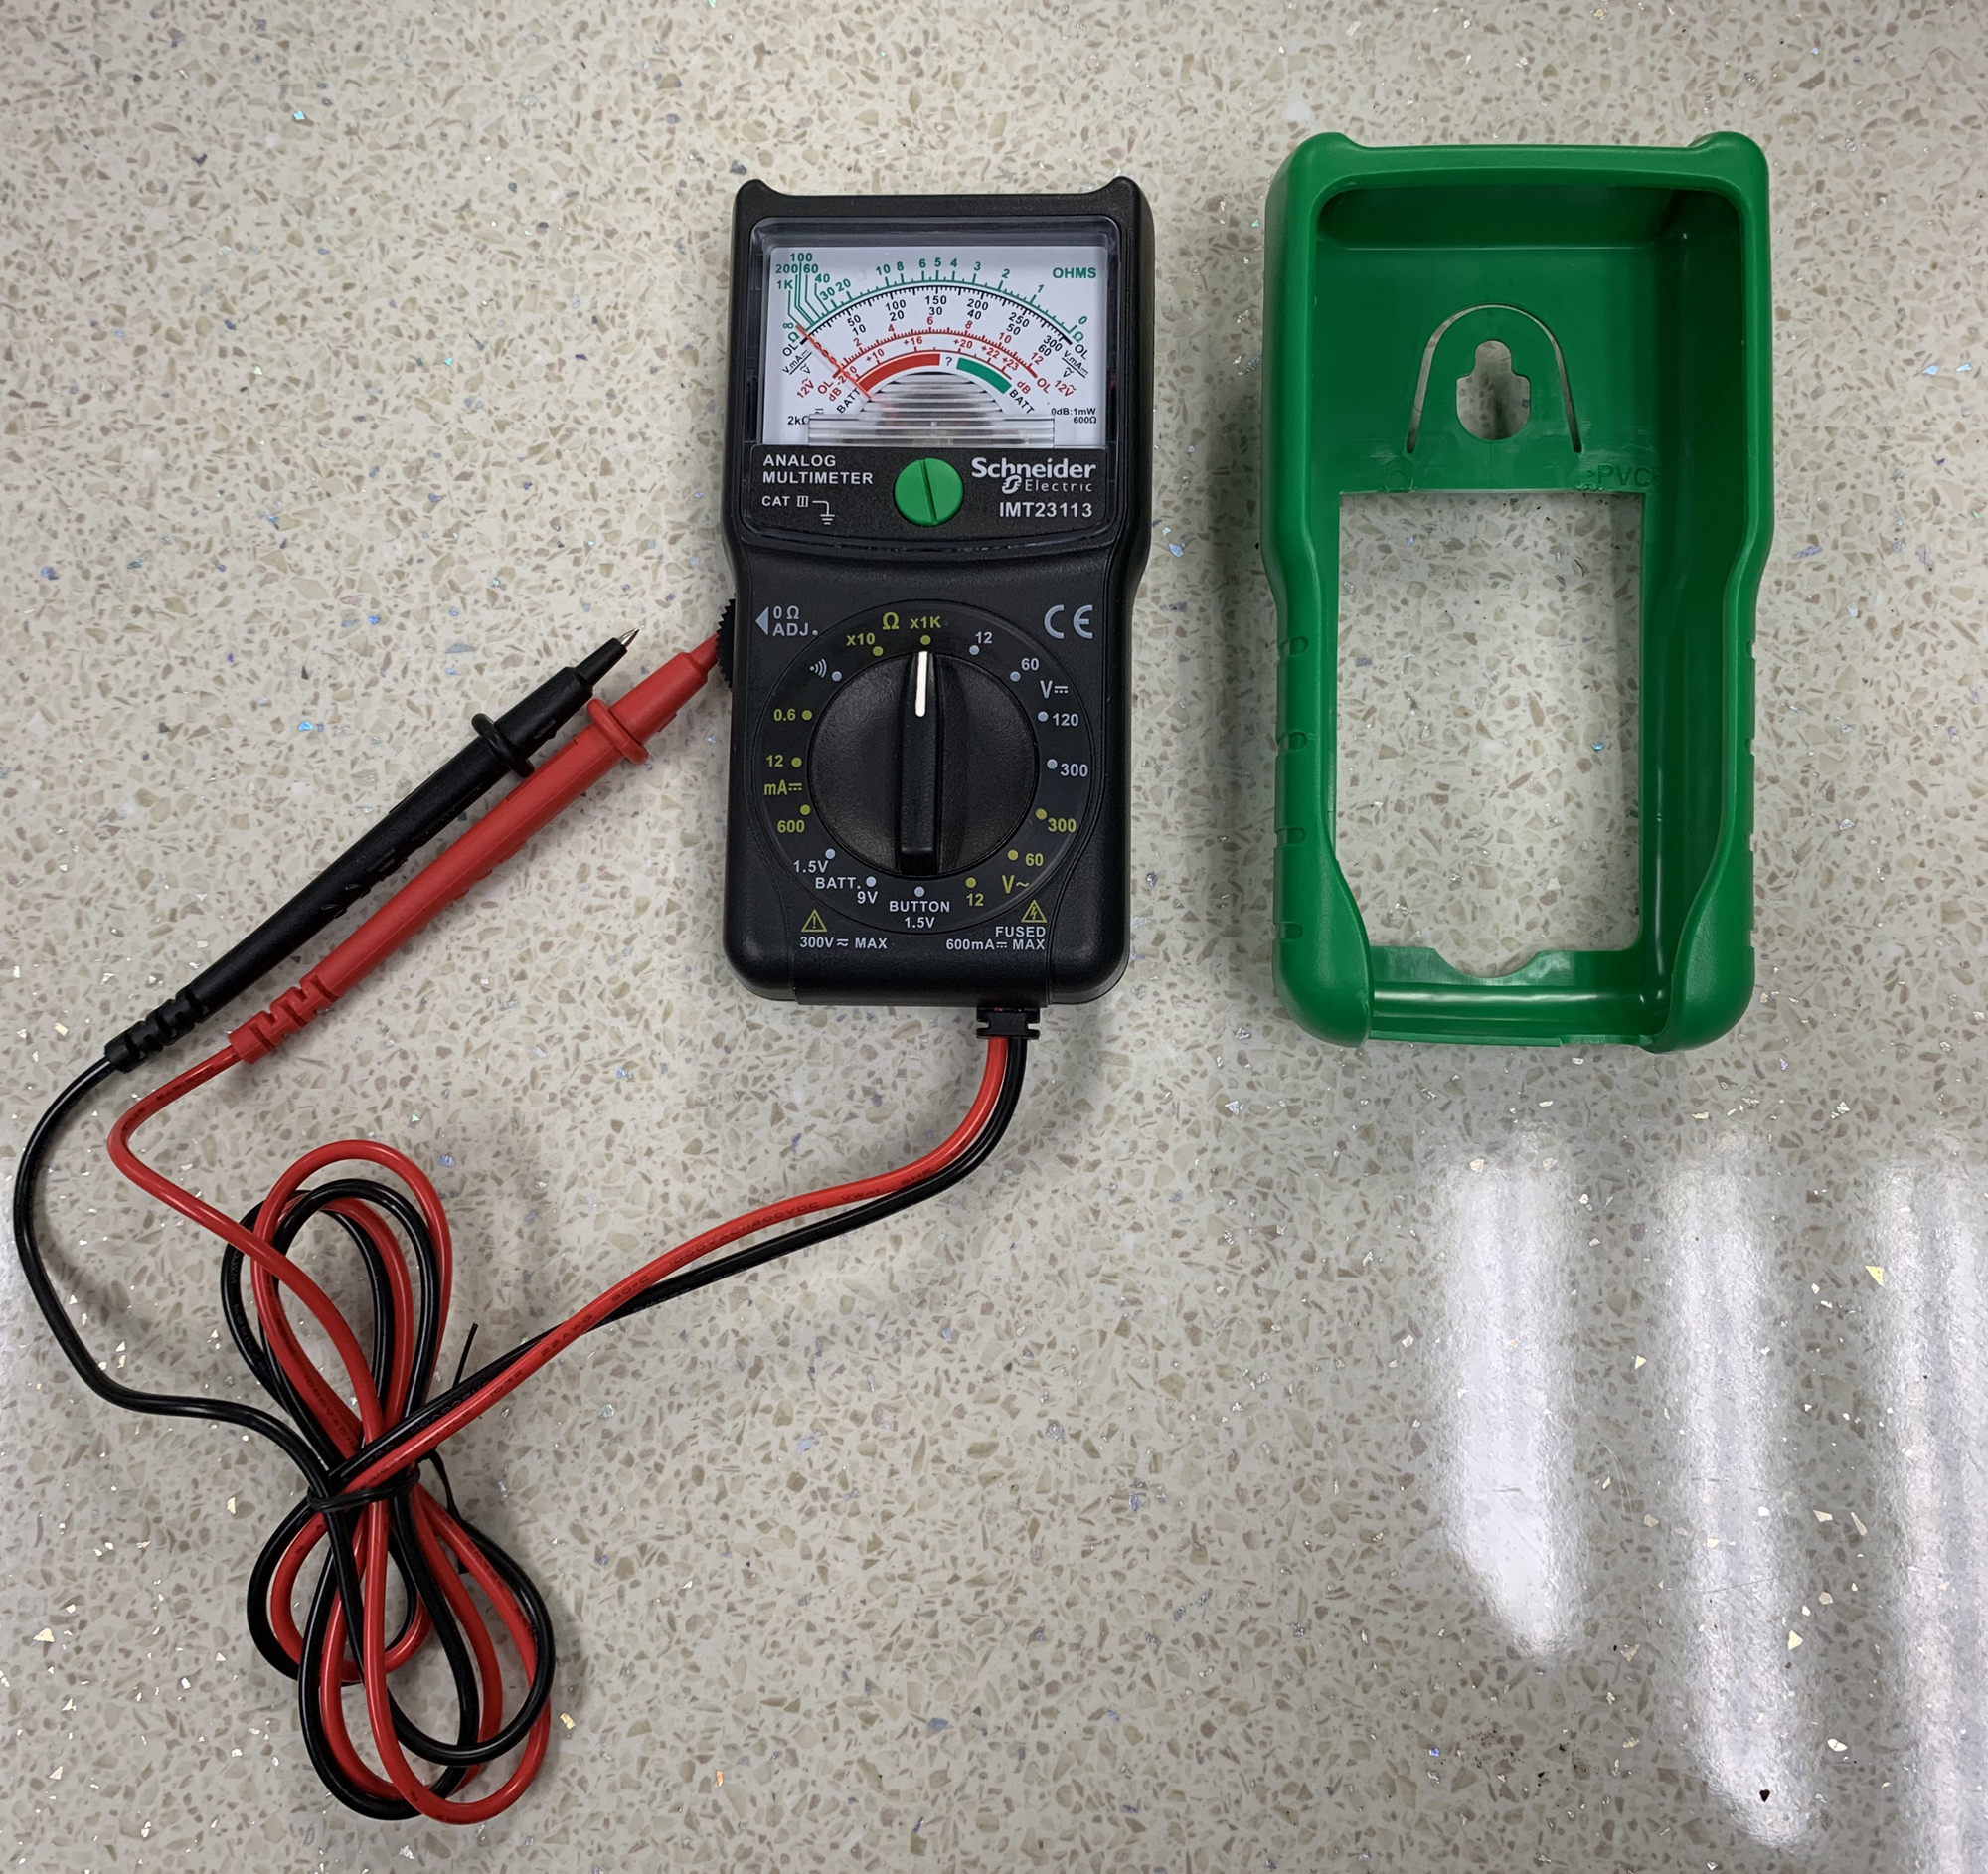
So, here’s the conundrum solved. The unit ‘looks’ to be encapsulated but it isn’t. Rather than trying and starting from the rear [possibly what most new owners do], you lift the actual meter [the black plastic part of it] upwards and prize it out of the green outer shroud [referred to as the ‘holster’].
In essence, bend the two corners of the green holster outwards slightly and pull the actual meter upwards.
Job done – you can now remove the single screw that retains the battery pack cover.
For servicing, there are two additional front corner screws that will allow the unit to be split. I get the feeling in the longer term I may have to do this as the probe leads are fed directly into the front of the unit [held by a small cable strain] and are not the ‘standard’ banana plug removable type.
This unit will need splitting at some point and any new leads will require hard soldering inside. Hopefully it will be a while until this is required.
As a roundup – I thought the test leads had a very small ‘probe’ area, only a couple of mm at best. Other buyers have commented on this and have used a scalpel to trim off some of the excess plastic to make the probe tips a little more useful.
It’s really down to whether you are using it for general electrical/electricians use or with a densely populated PCB as in Electronics. The later will possibly find trimming 5mm off the plastic a help.
* Price correct at time of article [February 2022]
My rating: 4 out 5